Customer Responsibility
In this method, the customer sets up all necessary configurations within their Elastic Email account and shares the required credentials with OptiKPI. No direct access to the account is needed by OptiKPI. Follow these steps to prepare your Elastic Email account for integration:
- Confirm Your Elastic Email Account
Ensure that your account registration and email verification are completed. This is required to activate and use the Elastic Email services.
- Authenticate the Sending Domain
Authenticate the domain used to send emails to improve deliverability. Adding and verifying a domain helps prevent your emails from being flagged as spam.
- Log in to your Elastic account.
- Go to Settings > Domains, click “Add Domain”, and follow the DNS verification process.
- Generate an API Key
Create an API key to securely enable OptiKPI’s access.
- Go to Settings > API Keys
- Click “Create New API Key”, assign permissions, and copy the key.
- Configure Unsubscribe Settings
Set up your unsubscribe settings to ensure recipients can easily opt out of your email communications in a compliant and user-friendly way.
- Go to Settings > Unsubscribe Settings.
- Choose the preferred unsubscribe mode (e.g., “Add a link to your message” or “Use a custom URL”).
- Ensure the Unsubscribe link is included in every message template sent via OptiKPI.
This step is crucial for complying with anti-spam laws and improving sender reputation. OptiKPI does not manage unsubscribe logic on your behalf; the setup must be correctly completed in Elastic Email.
5. Enable Webhooks
Activate webhooks to allow OptiKPI to track delivery events and customer interactions.
- Go to Settings > Notifications > Webhooks
- Add the webhook URL provided by OptiKPI
- Select all relevant event types (e.g., sent, opened, bounced, unsubscribed, etc.)
- Save the configuration
Required Configuration Details
These are the fields the customer must provide to complete the configuration in OptiKPI:
| Field | Description |
| API Key | Generated API Key from Elastic Email |
| Customer Name | Name of the customer (used internally by OptiKPI) |
| Name | Internal label for this configuration in OptiKPI UI |
| Default Subject | Default subject line for campaign emails |
| From Name | Display name of the sender shown to recipients |
| From Email | Sender’s email address (must match authenticated domain) |
2.2.2 OptiKPI Responsibility
Once configuration details are received, the OptiKPI team will handle the following steps:
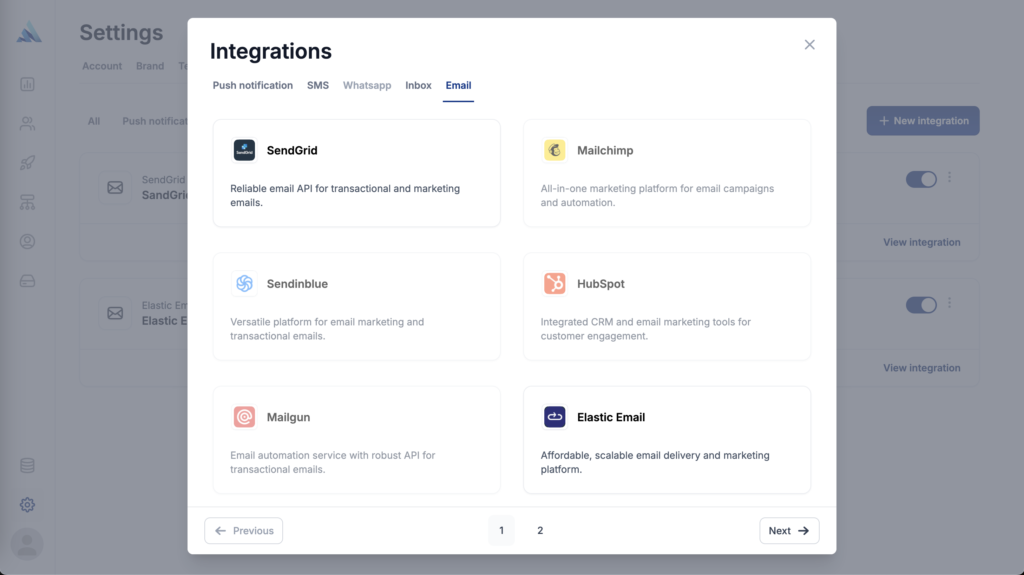
1. Register Elastic Email as a Provider
Elastic Email will be listed under the Integration Settings in the OptiKPI platform.
2. Populate Configuration Fields
All required fields will be populated in the Email Configuration setup page, including API Key, sender details, unsubscribe group, and contact list name.
3. Verify Connection & Activate Configuration
The connection will be verified, and the configuration will be activated for use in email campaigns and workflows.
4. Display Configuration in List View
The completed integration will appear in the Email Configuration List View, allowing marketing users to select Elastic Email as the provider during content setup.